
Appearance
Mail and SMS
Connect the account that sends plant mail and texts. Only the owner or an admin can do this.
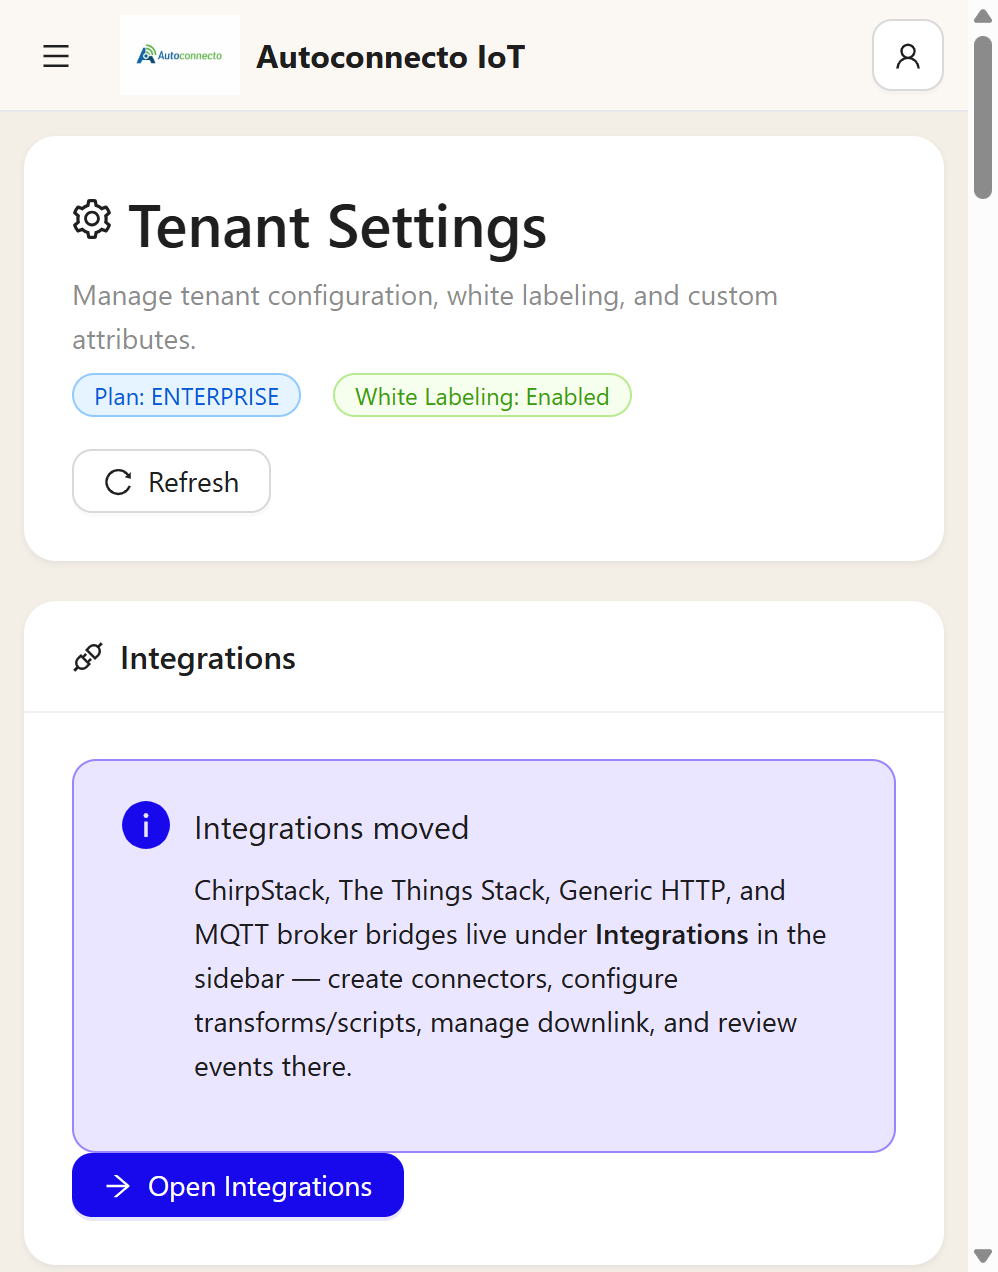
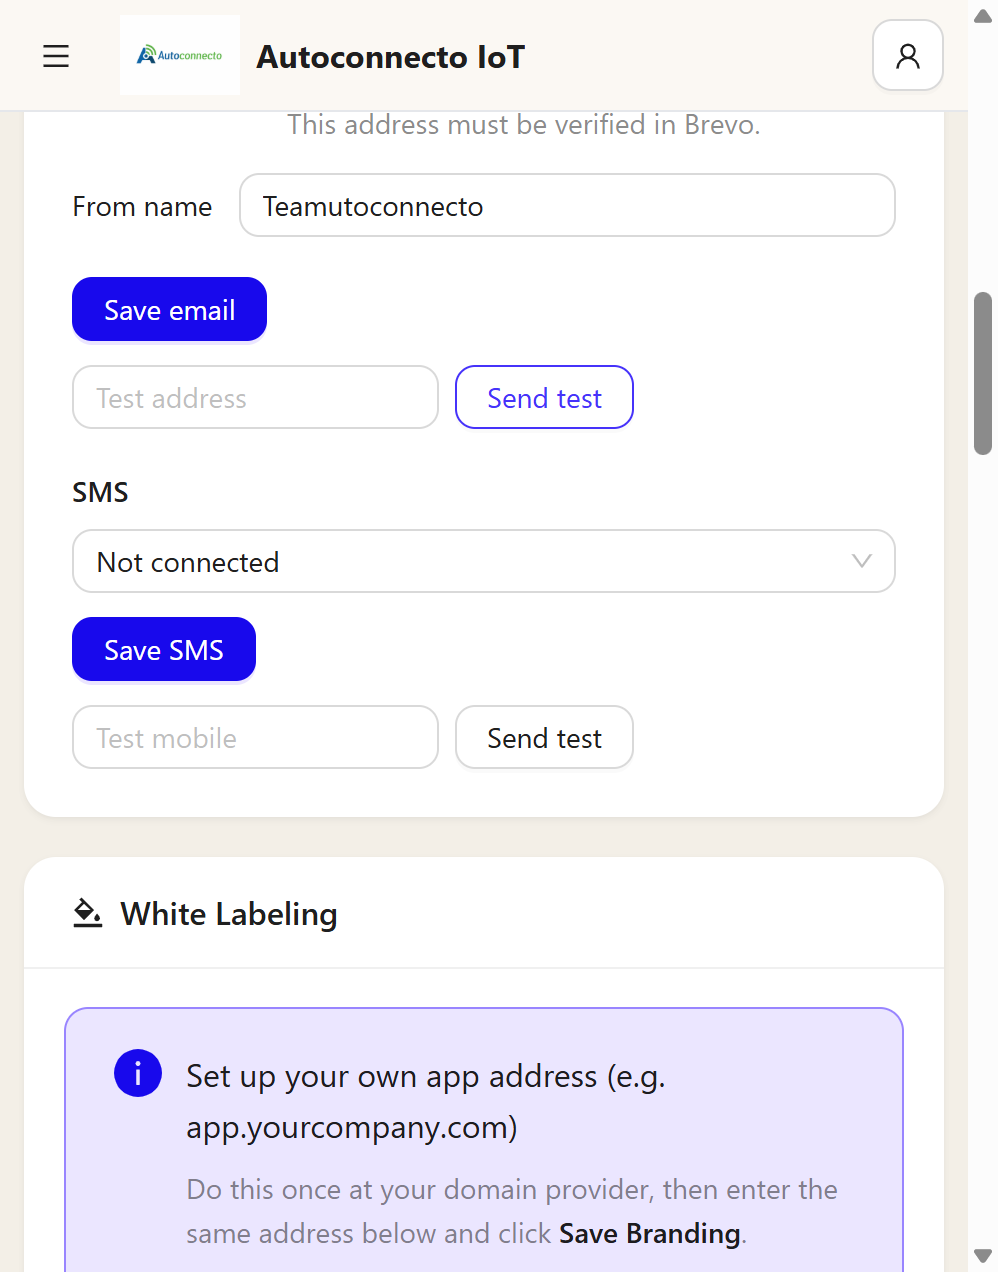
Open Tenant Settings. The top of the page is the plan and white labeling. Mail and SMS is further down. Email and SMS are separate dropdowns. You can connect one and leave the other empty.
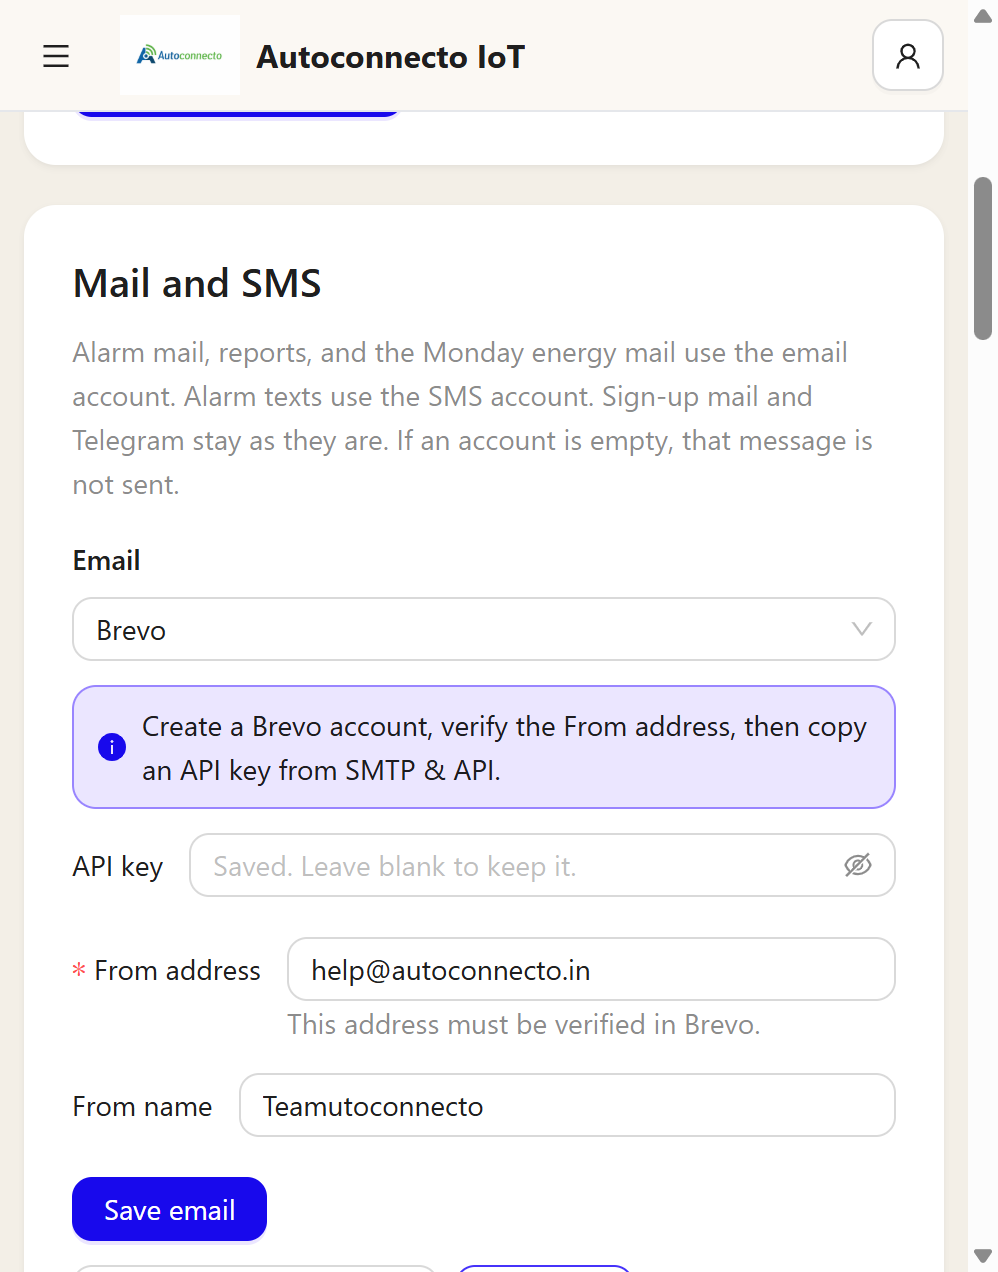
The API key is not shown again after save. The field says Saved. Leave blank to keep it. Save email, then type an address under Test address and click Send test.
What this account sends
| Message | Account |
|---|---|
| Alarm mail, including the combined mail | |
| Report mail | |
| Monday energy mail, if you turn it on | |
| Rule-engine mail | |
| Alarm text to a user's phone | SMS |
| Rule-engine text to a phone | SMS |
If that dropdown is Not connected, the alarm still appears on the Alarms page. The mail or text is not sent.
Signup codes, password reset, email verification, and user invites do not use this account. Telegram group alarms do not use it either. Those stay as they are.
Save before Send test. The test uses the saved account. Test sent means the provider accepted it. Also check the inbox or the handset.
A secret left blank on a later save is kept. The key is not shown again. To stop a channel, choose Not connected and save. Only one email account and one SMS account stay connected. The last one you save is the one that sends.
Gmail
Use this when the plant already has a Gmail or Google Workspace address.
The normal Gmail password does not work. Google wants an app password.
- Open the Google account that will send the mail.
- Go to Security and turn on 2-Step Verification.
- On that same page, open App passwords. If you do not see it, the Workspace admin has turned app passwords off. Ask the admin, or use another email provider below.
- Choose Mail, or Other and name it
Autoconnecto. Click Generate. - Copy the 16-character password. Spaces do not matter.
Then in Autoconnecto:
- Email dropdown: Gmail.
- Mail from: the address people see, for example
alerts@gmail.com. - Gmail address: the address that signs in. Leave it blank when it is the same as Mail from.
- App password: the password from Google.
- From name: optional, for example
Plant alarms. - Save email.
- Type your own address under Test address and click Send test.
The mail subject is Autoconnecto mail test. The server is already set: smtp.gmail.com, port 587, with TLS. You do not enter a host or a port.
A normal Gmail address is for alarm mail, not a mailing list. If Google refuses the send, the screen shows Google's message. The usual cause is a normal password, or 2-step verification not turned on.
Microsoft 365
Use this for a company address on Microsoft 365.
- Email dropdown: Microsoft 365.
- Mail from: the address people see.
- Sign-in address: leave blank when it is the same as Mail from.
- Password: the mailbox password. If the account uses 2-step verification, use an app password from that Microsoft account.
- Save email, then Send test.
The server is already set: smtp.office365.com, port 587, with TLS. SMTP sending must be allowed on that mailbox. If Microsoft has turned it off, the test shows Microsoft's refusal.
Other mail server
Use this for a company mail server that is not Gmail or Microsoft 365.
- Email dropdown: Other mail server.
- Server: the host name, for example
smtp.yourcompany.com. - Port:
587for TLS, or465for SSL. - Username and Password.
- Mail from, then Save email and Send test.
Other email providers
Pick one. Each needs an account at that provider and a verified From address.
| Provider | What you paste |
|---|---|
| Brevo | API key from SMTP & API, and a From address verified in Brevo |
| Resend | A sending API key, and a From address on a domain verified in Resend |
| Postmark | The Server API token, and a confirmed From address. A new Postmark account can mail only its own address until Postmark reviews it |
| SendGrid | An API key with Mail Send permission, and a From address on an authenticated domain |
Save, then send the test to your own inbox.
SMS in India
Use a 10-digit Indian mobile for the test. The text is Autoconnecto SMS test. The approved DLT template must be able to carry that sentence. DLT registration is done at the SMS provider, not in Autoconnecto.
| Provider | What you paste |
|---|---|
| MSG91 | Auth key, sender id, and template id. The template must contain ##var1## unless you change Template variable. The alarm text is placed in that variable |
| Fast2SMS | Dev API key, sender id (3 to 6 letters or digits), and the DLT message id. The alarm text is placed in the template's first `` |
| SMSLane | API key, client id, and a 6-character sender id. If the approved template is only the sentence, leave Template blank. If it has fixed words, paste it and write {message} where the sentence goes, for example Alarm {message} |
The handset must receive the text. A success on the screen means the provider accepted the request.
SMS outside India
The From number and the recipient both need a country code, such as +14155552671. A 10-digit number is refused.
| Provider | What you paste |
|---|---|
| Twilio | Account SID, auth token, and the From number |
| Plivo | Auth ID, auth token, and the From number |
Fast2SMS and SMSLane send only to Indian mobiles. Twilio and Plivo are the path for other countries.
After it works
On Users, turn on email or messaging for the people who should receive alarms. New users start with both off. The plant default is in When mail and messages go out. See Alarm notifications for Telegram, quiet hours, and escalation.